
Aquariums are the new trend in home décor. Aquariums have become a fun hobby for many, from small fish tanks to large tanks. The reason for this is the amount of joy and relaxation it brings.
You can entertain the fish in the tank by creating water bubbles with the pump. You can also reward them with food pellets or live fish food that they find tasty. Everyone loves the relaxing music and calm environment of an aquarium, especially if there are fish inside.
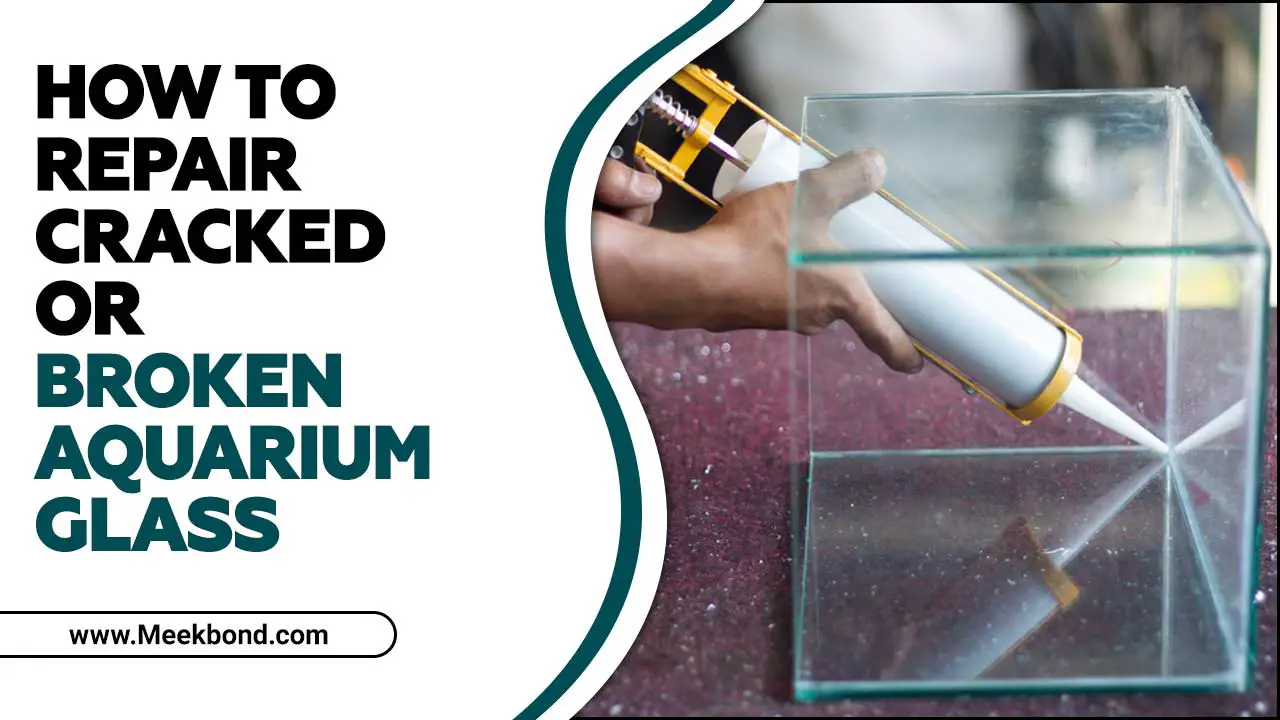
While most people enjoy having fish in their homes, some want to avoid keeping fish because of space constraints or health concerns. This is where aquariums come into play. We’ll discuss here some steps on how to repair cracked or broken aquarium glass.
What Causes Aquarium Glass To Crack Or Break?

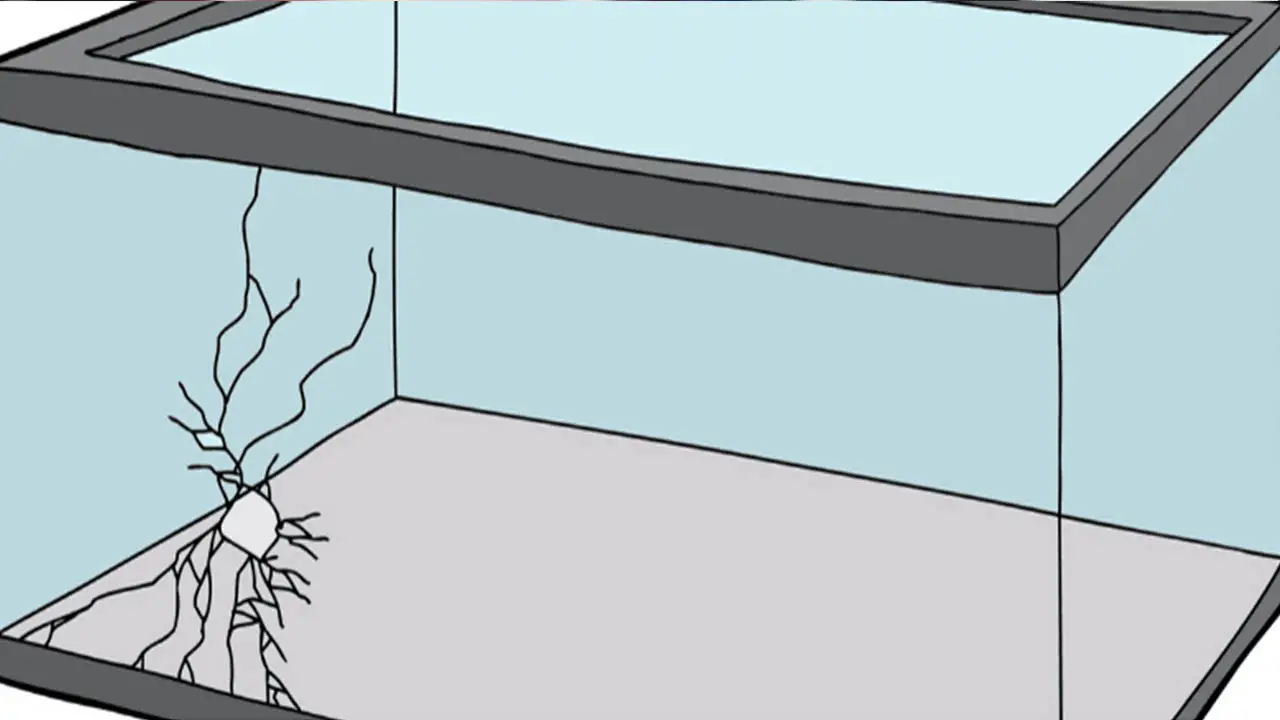
A crack in the aquarium glass can cause a water leak and may damage the tank’s inhabitants. A shattered aquarium glass can cause the water, tank inhabitants, and decorations to spill out, endangering the fish’s survival.
If the tank’s temperature and the environment between it and the cracked glass vary too much, it can result in a cleft in the aquarium glass, which is a weakened glass section.
This can lead to the aquarium being unstable or even crashing through the glass. Additionally, general defects in production can lead to the cracking of aquarium glass.
Rimless glass tanks are more likely to break than acrylic aquariums due to their fragile edges. To avoid this, cleaning the tank’s rim thoroughly and ensuring no debris remains when you close the tank lid is important. There are several common reasons why aquarium glass may crack or break, including:
- Temperature Fluctuations: Rapid changes in temperature can cause the glass to expand and contract, leading to stress on the glass that can eventually result in cracks.
- Incorrect Installation: If the aquarium is not properly supported or if there is uneven pressure on the glass, it can lead to cracks or breaks over time.
- Impact: Accidental bumps or drops can cause immediate damage to the glass, resulting in cracks or complete failure.
- Poor Quality Glass: Low-quality or flawed glass materials may be more prone to cracking or breaking under normal conditions.
Types Of Glass Commonly Used In Aquariums?
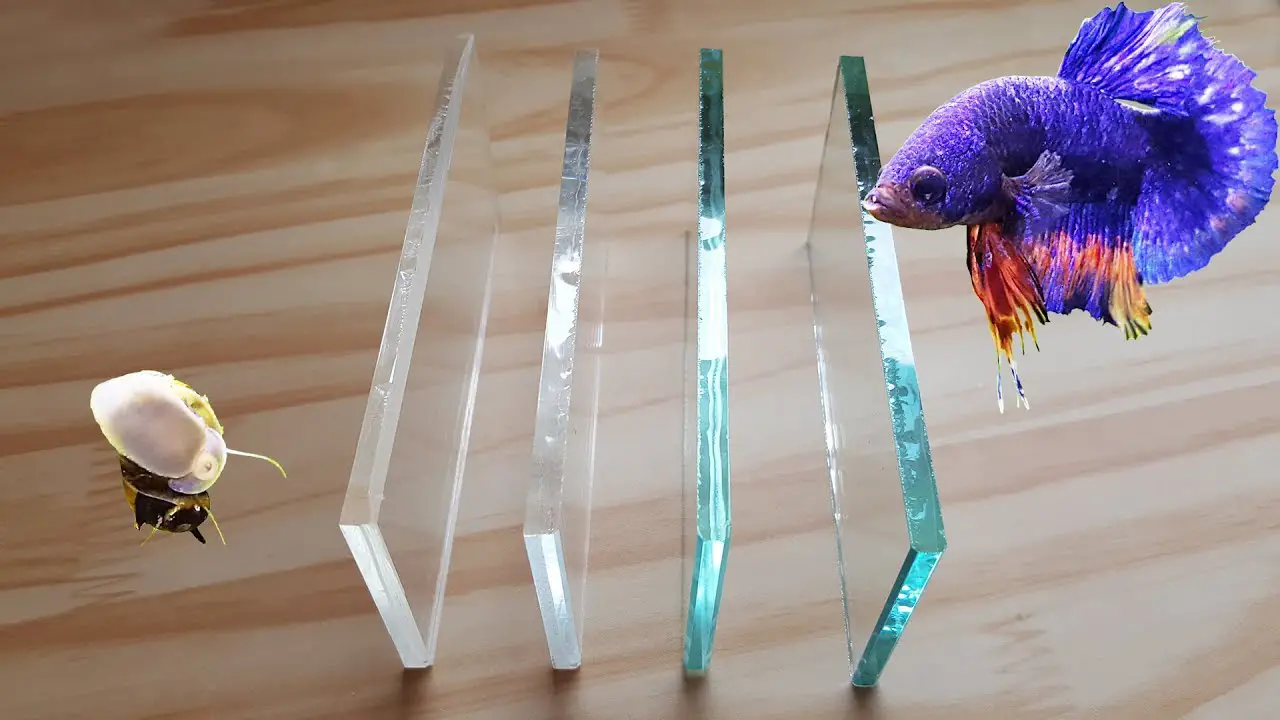
There are several types of glass commonly used in aquariums. When selecting the type of glass for your aquarium, consider factors such as size, budget, and personal preference. Each type has its own advantages and disadvantages, so choose the one that best suits your needs. Some of the most common include:
- Float Glass: Float glass is one of the most commonly handy types, known for its durability and ability to withstand high water pressure.
- Tempered Glass: Tempered glass is stronger and more durable than float glass. It is less likely to break and is designed to shatter into small, rounded pieces if it does break, reducing the risk of injury.
- Acrylic: Acrylic is a lightweight and impact-resistant alternative to glass. It is often used for larger aquariums or custom shapes, as it can be easily moulded.
- Low-Iron Glass: Low-iron glass has a higher clarity and transparency than standard float glass. It reduces the green tint sometimes seen in regular aquarium glass.
8 Effective Steps on How To Repair Cracked Or Broken Aquarium Glass
If your aquarium with water glass is cracked or broken, you can use various methods to repair the glass. Before repairing the glass, cleaning the aquarium with soap and warm water is important to remove any debris that may have caused the crack or break.
After cleaning the cracks in aquarium glass, use a suction cup to hold the pieces in place while using epoxy to fill the crack or break. Monitoring the repair for a few hours is important to ensure no further cracks or leaks. Here are 8 steps on how to repair cracked or broken aquarium glass:
1. Prepare The Surface
Preparing the surface is an important step in repairing cracked or broken aquarium glass. Before starting the repair process, cleaning the damaged area thoroughly is crucial. Use a mild detergent and warm water to remove any dirt, debris, or algae that may be present.
This will ensure that the adhesive used to repair bonds properly with the glass. Additionally, if there are any sharp edges or rough spots around the crack or break, gently sand them down using fine-grit sandpaper to create a smooth surface for better adhesion.
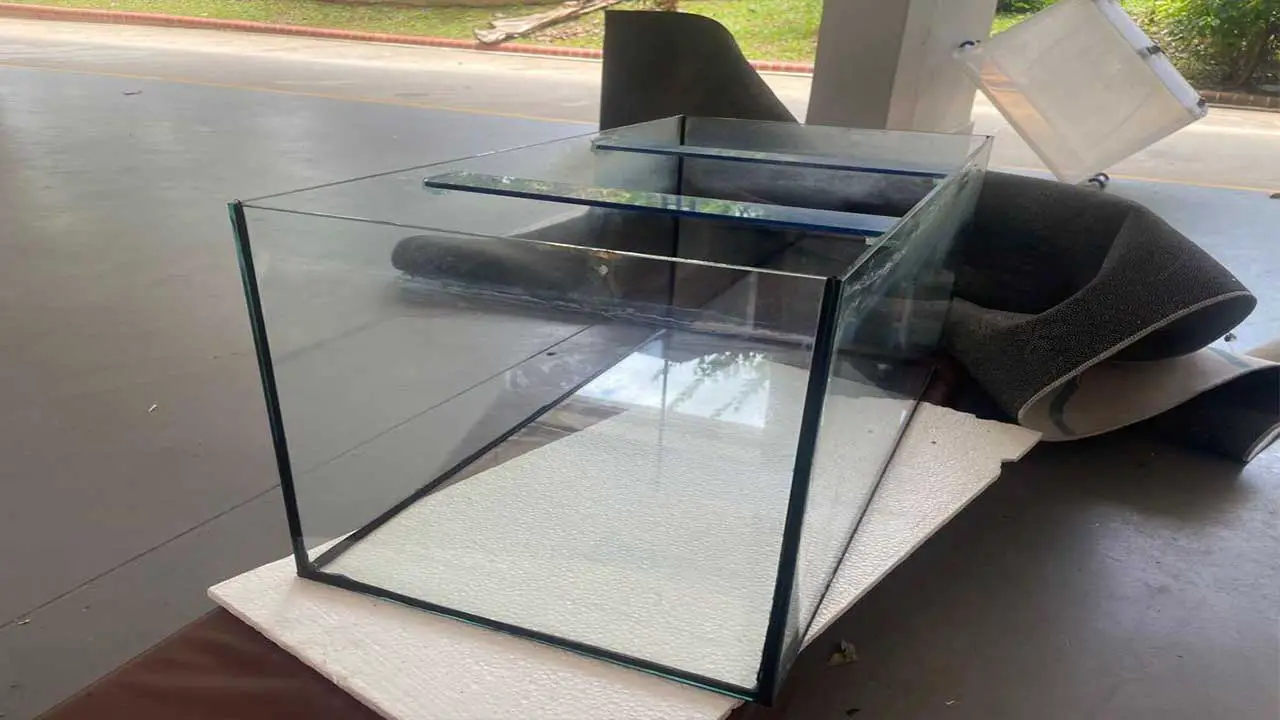
2. Empty The Tank
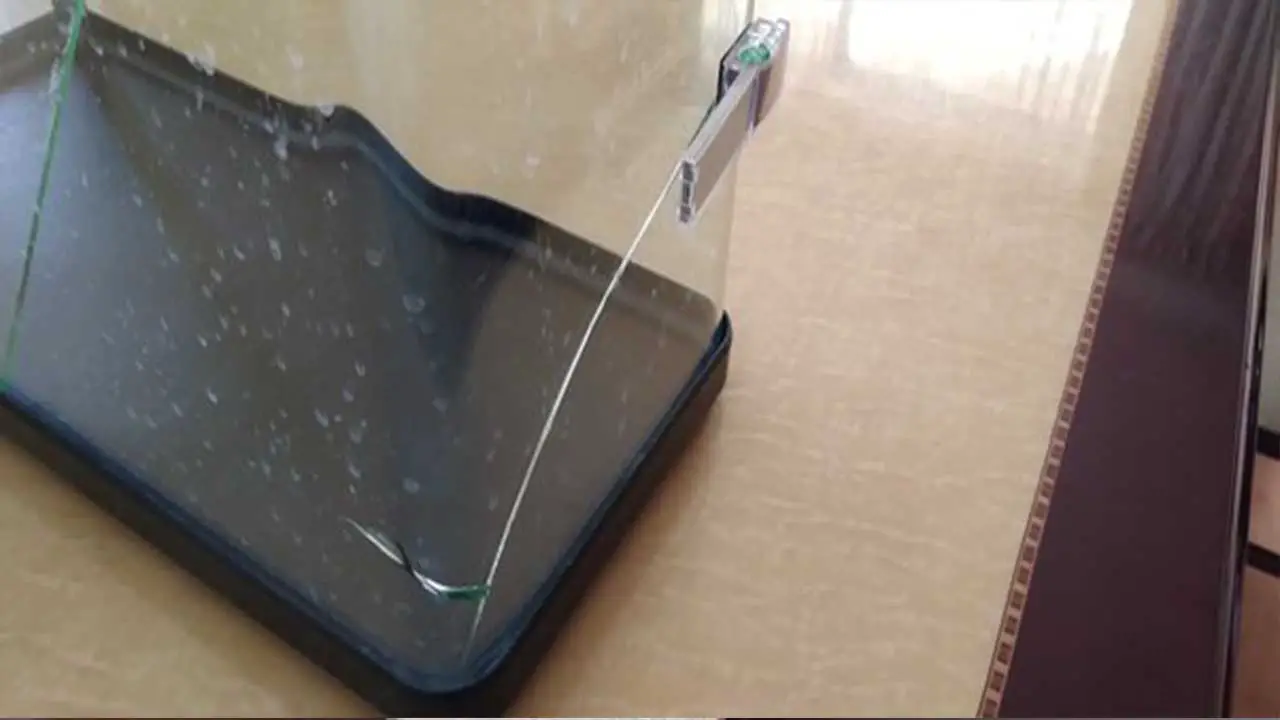
When repairing cracked or broken aquarium glass, the second step is to empty the tank. This is crucial to ensure the safety of both yourself and your aquatic pets. Start by unplugging any electrical equipment, such as filters or heaters, and carefully remove them from the tank.
Next, use a siphon or bucket to remove the water from the tank. Be sure to save some of the water in a separate container when refilling the tank. Once the tank is empty, you can assess and repair the cracked or broken glass.
3. Assess The Damage
Before beginning the repair, it is important to assess the damage and determine how severe the crack or break is. Reproducing small chips or cracks in aquarium glass is easier than larger breaks.
A replacement glass pane may sometimes be necessary if the damaged area is too large to repair. Additionally, it is important to determine whether there are any additional safety risks before proceeding with the repair.
4. Remove The Old Sealant
Removing the old sealant is crucial in repairing cracked or broken aquarium glass. Before applying new sealant, you must ensure that all remnants of the old sealant are completely removed. Start by using a razor blade or scraper to carefully scrape away the old sealant from the edges of the glass.
Be sure to work slowly and gently to avoid scratching or further damaging the glass. Once you have removed as much old sealant as possible, use a solvent like acetone or rubbing alcohol to clean the glass and remove any remaining residue.
5. Clean Up The Spot
When repairing cracked or broken aquarium glass, it is important to start by cleaning up the affected spot. Use a soft cloth or sponge to remove debris or dirt from the area. This will ensure the repair materials adhere properly and strengthen the bond.
Additionally, cleaning the spot will help you assess the extent of the damage and determine if any further steps need to be taken before proceeding with the repair. Remember to handle broken glass carefully and take necessary safety precautions to avoid injury.
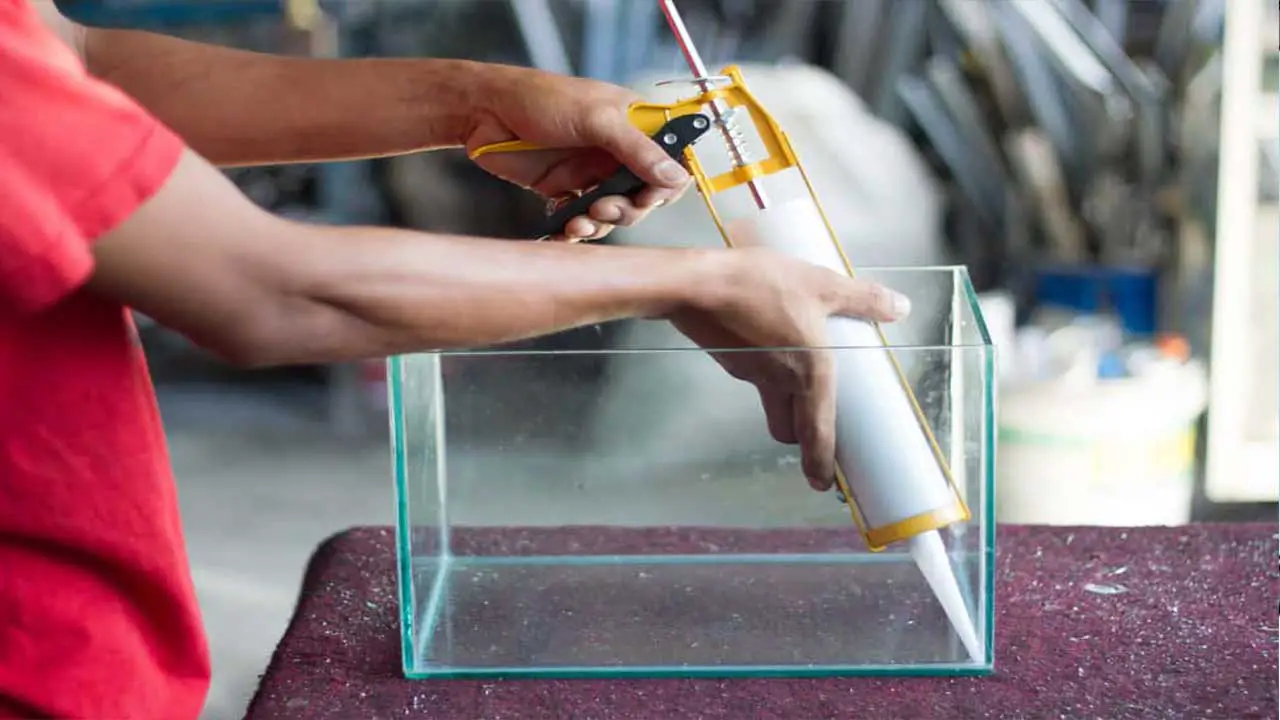
6. Seal The Area
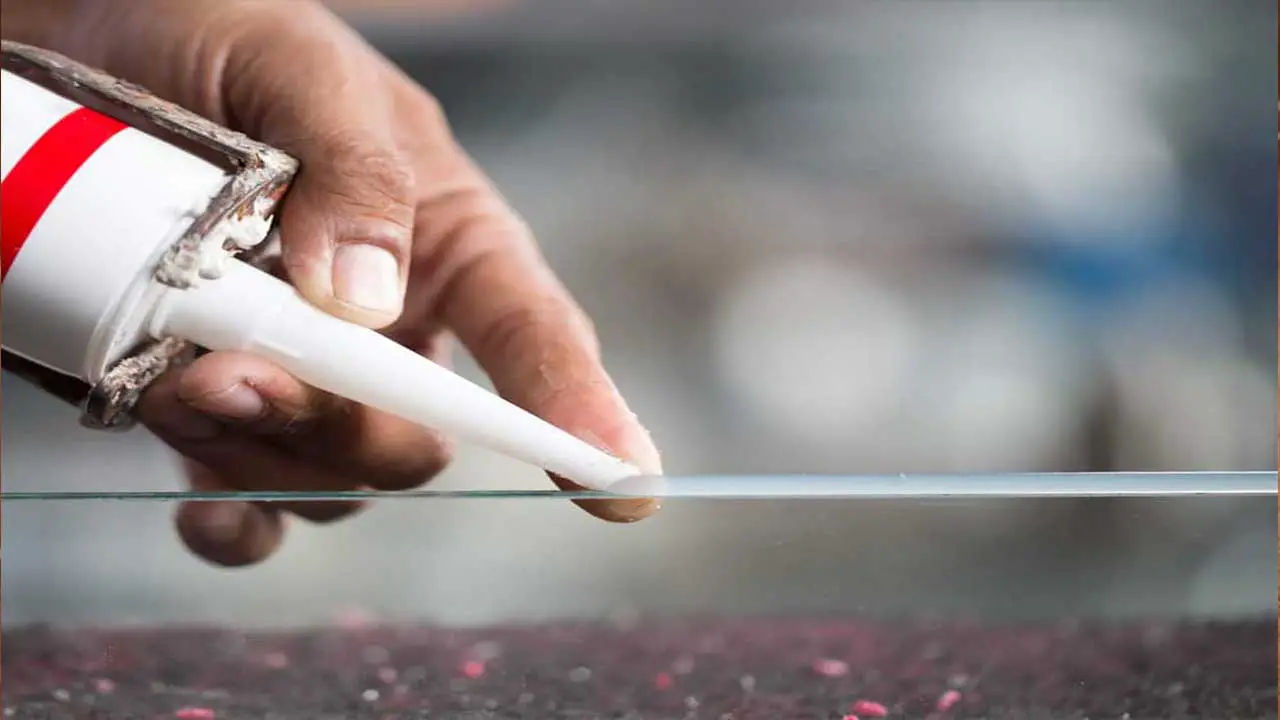
One important step when repairing cracked or broken aquarium glass is to seal the area. This will help to prevent any leaks and ensure the safety of your aquatic pets. To seal the area, you will need to use a suitable aquarium-safe adhesive or silicone sealant. Applying silicone sealant is an important step in repairing cracked or broken aquarium glass.
Once the area is clean, apply a generous amount of silicone sealant directly onto the crack or break, covering the entire damaged area. Use a smooth, even motion to spread the sealant and ensure it adheres properly. After applying the sealant, allow it to dry and cure according to the manufacturer’s instructions before reassembling your aquarium.
7. Dry The Sealant
This is an important step as it ensures the new sealant will adhere properly to the glass. To dry the sealant, use a clean cloth or paper towel to remove any moisture or debris from the area where the new sealant will be applied.
Ensure that the area is completely dry before proceeding with the next steps of the repair process. Drying the sealant properly will help ensure a strong and long-lasting repair for your aquarium.
8. Monitor The Repair
After repairing cracked or broken aquarium glass, monitoring the repair closely to ensure its effectiveness and long-term durability is important. Keep a close eye on the repaired area for any signs of leaking or further damage. If you notice any issues, such as water seeping through or cracks reappearing, you may need to revisit the repair process or seek professional assistance.
Additionally, regularly inspect the entire aquarium for any new cracks or weaknesses that may need attention. By actively monitoring the repair and addressing any concerns promptly, you can help maintain your aquarium’s integrity and ensure your aquatic inhabitants’ safety.
How Long Does It Take To Repair Cracked Or Broken Aquarium Glass?
Repairing cracked or broken aquarium glass can be time-consuming, but the exact amount of time will depend on the extent of the damage. Generally, it can take a few hours to several days to complete the repair properly.
The time required to repair a cracked or broken aquarium glass depends on several factors, such as the location of the crack and the material used to make the glass.
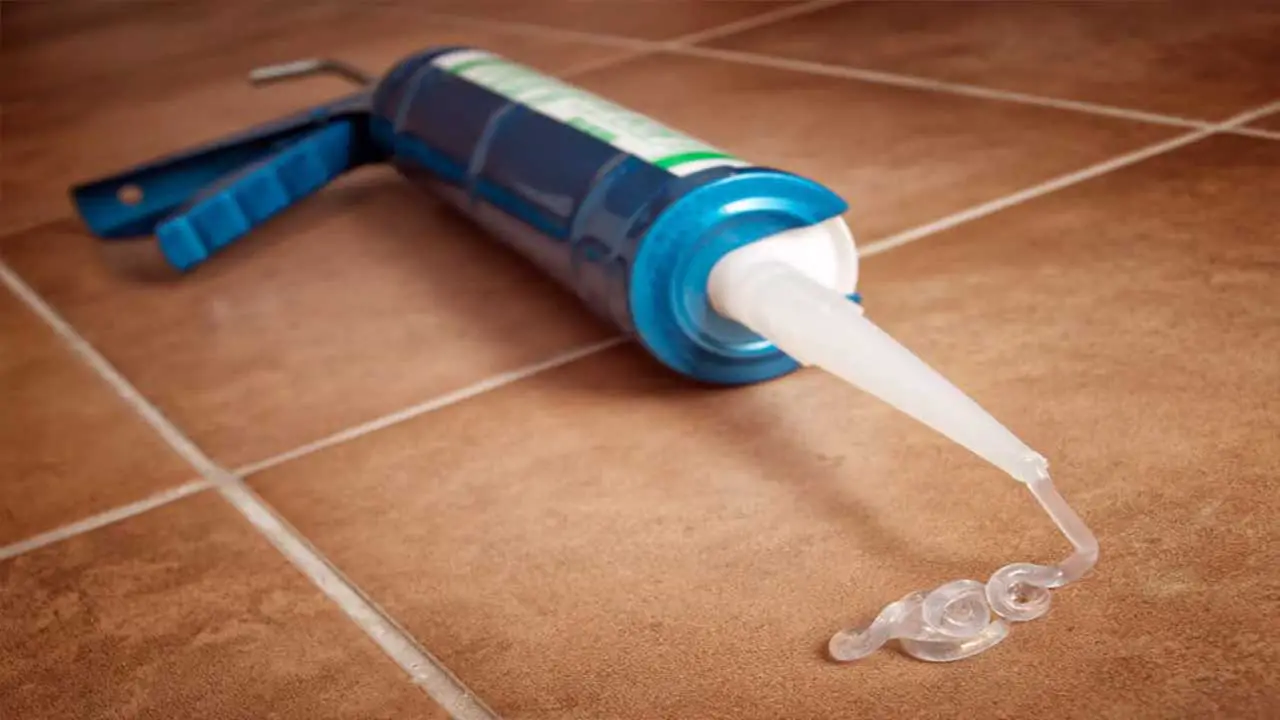
If the crack is located in a small area, it can be easily repaired by filling the gap with an epoxy or silicone caulking gun. However, if you need to fill a larger area crack, use fibreglass resin or silicone caulk.
You should thoroughly inspect all repairs to ensure no further damage has occurred before fully accepting them. The material used to make an aquarium glass determines how long it takes to repair it.
If the manufacturer uses tempered glass, the replacement process becomes easy as it is already embedded in the tank. On the other hand, if you have a glass made from acrylic or plastic, you must replace it with a new one since it is prone to shatter under extreme conditions.
Cleaning Tips For Aquarium Glass
Keeping the glass of your aquarium clean is essential for maintaining a healthy and visually appealing environment for your fish. Following these tips and incorporating regular maintenance into your routine ensures that your aquarium glass remains spotless and provides a clear view of your aquatic friends. Here are some cleaning tips to help you keep your aquarium glass looking crystal clear:
- Use an algae scraper or sponge to remove algae buildup on the glass. Gently scrub the glass back and forth to loosen and remove the algae.
- Avoid harsh chemicals or abrasive materials that scratch or damage the glass. Instead, opt for a non-toxic aquarium-safe glass cleaner or vinegar solution.
- Regularly siphon out any debris or waste from the bottom of the tank to prevent it from settling on the glass. This will help reduce the amount of cleaning needed.
- Consider adding some algae-eating fish or snails to your aquarium. These natural cleaners can help keep algae growth under control, reducing the frequency of manual cleaning required.
- Lastly, make sure to clean the exterior of your aquarium as well. Wipe down any fingerprints or smudges with a soft cloth or microfiber towel for a polished look.
Glass Cleaning From Outside
Cleaning the outside of your aquarium glass is an important part of maintaining a clean and clear tank. Over time, algae, mineral deposits, and other debris can accumulate on the surface of the glass, obscuring the view of your fish and plants. To clean your aquarium glass outside, gather the necessary supplies.
You will need a soft sponge or cloth, warm water, and a gentle glass cleaner designed for aquarium use. Avoid household cleaning products or abrasive materials, which can harm aquatic life. Begin by dipping the sponge or cloth into the warm water and gently wiping down the glass in circular motions to remove any loose debris.
Then, spray a small amount of the aquarium-safe glass cleaner onto the cloth and continue wiping down the glass until it is clean and free from streaks. Be sure to rinse off any residual cleaner with fresh water before replacing the lid or cover. Regularly cleaning the outside of your aquarium glass will enhance its appearance and promote a healthier environment for your aquatic friends.
Glass Cleaning From Inside
Cleaning the inside of your aquarium glass is an important part of maintaining a healthy and visually appealing tank. Over time, algae and other debris can build up on the pane of glass, obscuring your view of the beautiful underwater world you’ve created.
To clean your aquarium glass’s interior, remove any fish or decorations from the tank. Use an aquarium-safe scraper or sponge to remove algae or dirt from the glass gently. Be sure to use gentle strokes and avoid pressing too hard, which can scratch the glass.
Once you have removed all debris, use a clean cloth or paper towel to wipe down the glass and remove any streaks or residue. Finally, replace any fish or decorations that were temporarily removed and enjoy your clear, sparkling aquarium once again.
How To Repair A Cracked Fish Tank
Repairing a cracked or broken aquarium glass is essential to ensure the safety and well-being of your aquatic pets. One repair method is using a glass patch when dealing with minor cracks. It’s important to note that while this method can be effective for minor cracks, more severe damage may require professional assistance or even replacing the entire tank.
Regular maintenance and monitoring for any signs of cracks or damage can help prevent larger issues in the future. Here are the steps to repair a cracked fish tank using a glass patch:
- Start by draining the water from the tank and removing all the fish and decorations.
- Clean the area around the crack thoroughly to ensure proper adhesion of the glass patch.
- Cut a piece of glass that matches the size and shape of the crack. You can purchase a glass patch from a local pet store or cut one yourself using a glass cutter.
- Apply an aquarium-safe silicone adhesive to both sides of the crack and carefully place the glass patch over it.
- Press firmly to ensure good contact between the patch and the tank’s surface, removing excess adhesive.
- Allow the adhesive to cure according to the manufacturer’s instructions before refilling the tank with water and reintroducing your fish.
Conclusion
To seal a tank, you first need to clean the glass. Apply silicone sealant and wait for it to dry. Once the sealant is ready, brush it onto the tank glass and wipe off excess with a towel. Cover the tank and seal it with tape.
To ensure the tank glass does not crack or break again, follow a regular cleaning routine and monitor the tank’s temperature. Besides, always store fish tanks in a secure place free of sharp objects and sudden or extreme changes in temperature.
If you know how to repair cracked or broken aquarium glass, it is important to take action immediately. By repairing the damage as soon as possible, you can minimize the risk of further damage and ensure that your aquarium remains in good condition.
Frequently Asked Questions
Can You Fix The Cracked Aquarium Glass?
Yes, cracked aquarium glass can be fixed. Depending on the severity of the crack, there are a few options. For small cracks, aquarium-safe silicone sealant can seal the crack and prevent water leakage. It may be necessary to replace the glass pane entirely for larger cracks.
Which Glue Is Best For Aquariums?
The best glue for aquariums is a silicone-based adhesive specifically designed for use in aquariums. This type of glue is safe for both fish and plants and is waterproof, ensuring a strong and secure bond.
What If The Aquarium Glass Breaks?
If the aquarium glass breaks, it can seriously threaten the aquatic life inside the larger tank. The water and fish can spill out, causing damage to the surrounding area and potentially harming the inhabitants.
How Do You Fix Cracks In Glass?
To fix cracks in glass, you can start by cleaning the area around the crack with glass cleaner and a soft cloth. Then, following the instructions, apply a clear epoxy or glass repair resin to the crack.
Which Is The Best Glue For Glass?
The best glue for glass is typically a clear adhesive designed for glass bonding, such as a cyanoacrylate (super glue) or a UV-curing glass adhesive. These types of glue create a strong and transparent bond on glass surfaces.

Aquarium passion is all about connecting with the aquatic life and providing education to the public on the importance of these creatures. We showcase a wide variety of marine life through our exhibits as well as working with schools to provide unique learning opportunities for students of all ages.


