
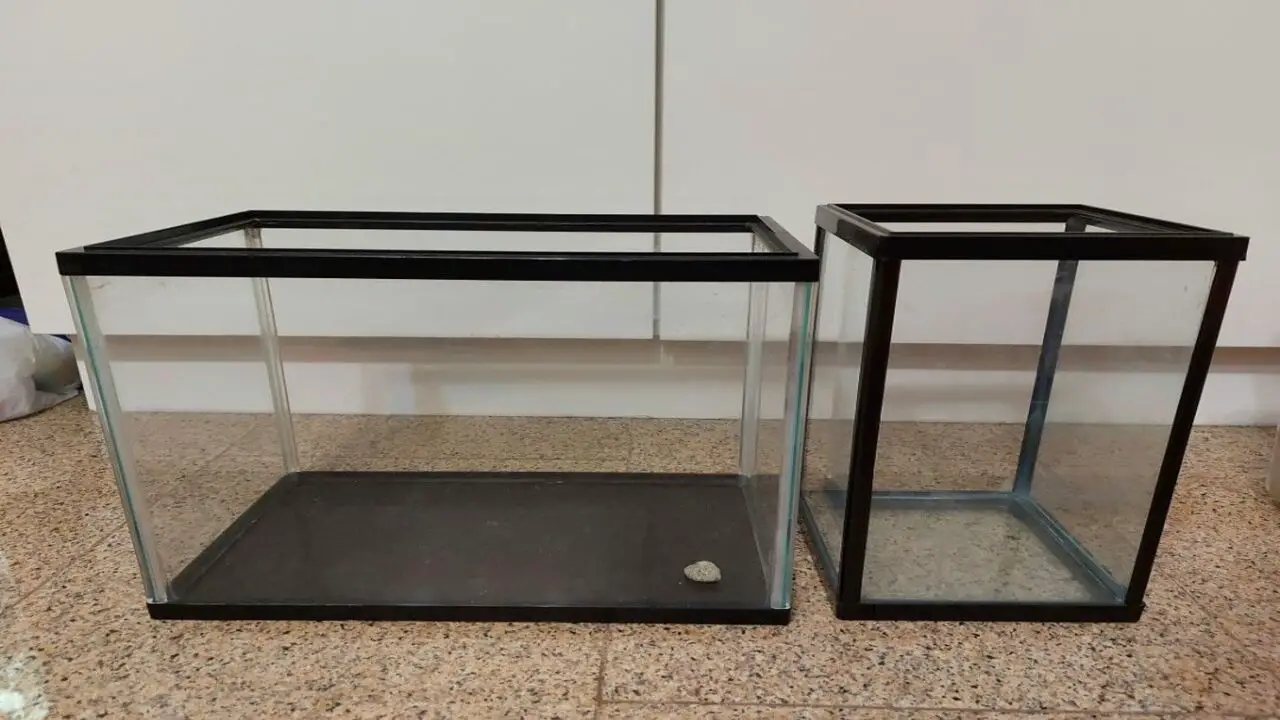
Aquariums are a delightful addition to any home, but with time, they can lose their appeal due to wear and tear. One of the most common issues that aquarium owners face is the need to replace the frame.
A damaged or worn frame can not only affect the appearance of your aquarium but also compromise its structural integrity. If left unaddressed, it can even lead to leaks which can damage your furniture and pose a risk to your aquatic pets. Therefore, replacing your aquarium frame as soon as you notice any signs of damage is crucial.
Here, we will walk you through everything about aquarium frame replacement. We will discuss the common signs of wear and tear on an aquarium frame, the tools and materials needed to replace the frame, and a step-by-step guide on how to do it successfully.
10 Easy Steps To Aquarium Frame Replacement
To replace an aquarium frame, gather materials like silicone, a putty knife, and a new frame. Drain the aquarium and remove gravel and decorations. Use a putty knife to remove the old frame and clean the glass surface. Cut the new frame to size, align it with the glass, and apply silicone to the edges. Press the new frame firmly into place and let it dry for 24 hours before refilling the tank. Here are a few steps for aquarium frame replacement.
Assess The Damage To The Aquarium Frame
Regarding aquarium frame replacement, the first step is to assess the damage to the frame. Look for any cracks, chips, or signs of wear and tear. If the damage is minor and limited to a small area, it may be possible to repair the frame rather than replace it completely. However, if the damage is extensive or there are structural issues with the frame.
They recommend replacing it entirely. This will ensure the safety and stability of the aquarium. When replacing the frame, be sure to choose a high-quality replacement that is compatible with your tank size and design. Proper installation is crucial to prevent any future damage or leaks. If you are unsure how to proceed with the replacement, it is best to consult a professional or seek advice from an experienced aquarium hobbyist.
Gather The Necessary Tools And Materials For The Replacement
Replacing the aquarium frame can be long and expensive, requiring removing and reinstalling the entire glass enclosure. The first step is to remove the old frame by unscrewing and removing any screws or brackets holding it in place. When it comes to replacing the frame of an aquarium, there are a few essential tools and materials that you will need. These include:
- A frame replacement kit typically includes a new frame, corner connectors, and any necessary screws or bolts.
- A screwdriver or drill: Depending on the frame type and connectors, you may need either a screwdriver or a drill to remove the old frame and install the new one.
- Silicone adhesive: This is handy for securing the new frame to the aquarium’s glass. Make sure to choose a silicone adhesive that is safe for use in aquariums.
- Cleaning supplies: Before installing the new frame, it’s important to thoroughly clean the aquarium’s glass to ensure a secure bond with the adhesive.
- Safety equipment: It’s always a good idea to wear gloves and safety goggles when working with tools and chemicals.
Having these tools and materials on hand ensures a smooth and successful aquarium frame replacement process.
Safely Remove Any Decorations Or Equipment From The Aquarium

Regarding aquarium frame replacement, it is important to take the necessary precautions to ensure the safety of your fish and other aquatic life. Before beginning the process, it is crucial to remove any decorations or equipment from the tank safely. This includes plants, rocks, and electrical equipment such as heaters or filters.
Carefully transfer your fish to a temporary holding tank with clean water at a similar temperature to their original habitat. You can replace the aquarium frame once you have safely relocated all living creatures and emptied the tank. We recommend following the manufacturer’s instructions or seeking professional assistance to ensure you replace things correctly and without causing harm to your aquatic pets.
Drain The Water From The Aquarium, If Necessary
You need to replace the damaged frame of your aquarium. It is important to drain the water from the aquarium if necessary. This will prevent any water damage or spills during the frame replacement process. Start by turning off all electrical equipment, such as filters and heaters.
Then, use a siphon or bucket to remove the water from the tank. You can safely replace the frame once you drain the water without any risk of water damage. Remember to follow all safety precautions and consult with a professional if needed.
Remove The Old Frame By Carefully Prying It Off Or Cutting It Away
In aquarium frame replacement, removing the old frame is a crucial step in the process. To remove the old frame, you must proceed cautiously and be gentle to avoid damaging the tank. One method is carefully prying the frame off using a flathead screwdriver or a putty knife.
Start at one corner and work your way around, applying gentle pressure until the frame loosens. Take your time and patience during this process to ensure you don’t accidentally crack or break the tank. Once the old frame removes, you can install the new one for your aquarium.
Clean And Prepare The Glass Edges For The New Frame
When replacing an aquarium frame, it is important to properly clean and prepare the glass edges for the new frame. Start by removing the old frame using a putty knife or similar tool. Be careful not to damage the glass during this process.
Once the old frame is removed, use a glass cleaner and a soft cloth to clean the glass edges thoroughly. This will help ensure a secure and stable fit for the new frame. Remove any adhesive residue from the glass using an adhesive remover or rubbing alcohol.
Once the glass edges are cleaned and prepared, you can attach the new frame using aquarium-safe silicone sealant. Follow the manufacturer’s instructions for proper application and curing time. Your aquarium will be ready for many more years of enjoyment with proper preparation and installation.
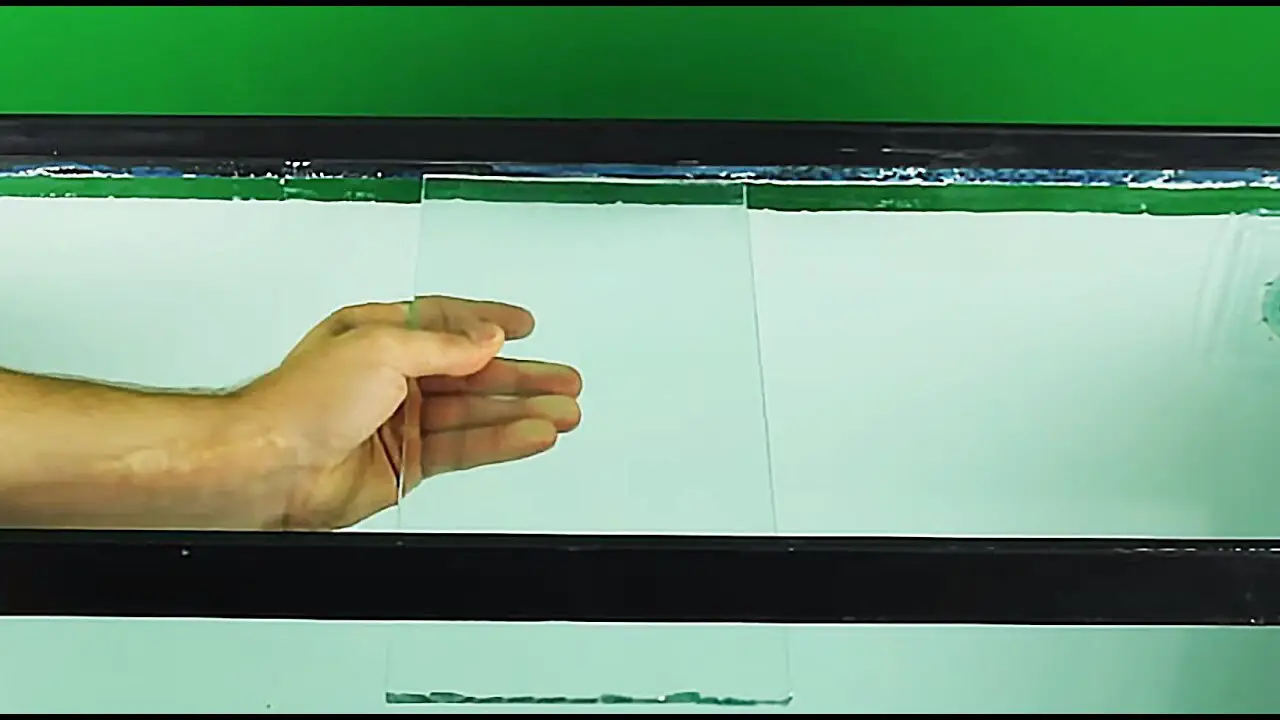
Measure And Cut The Replacement Frame To Fit Your Aquarium
One important step in aquarium frame replacement is to measure and cut the replacement frame to fit your tank. Start by carefully measuring the dimensions of your tank, taking into account any curvature or angles in the frame.
Once you have accurate measurements, use a saw or other appropriate cutting tool to cut the replacement frame to the correct size. It is important to ensure that the new frame fits snugly around the tank, providing support and stability. Take your time during this process to ensure a precise fit, as a properly fitted replacement frame can help extend the lifespan of your aquarium and keep your aquatic pets safe and secure.
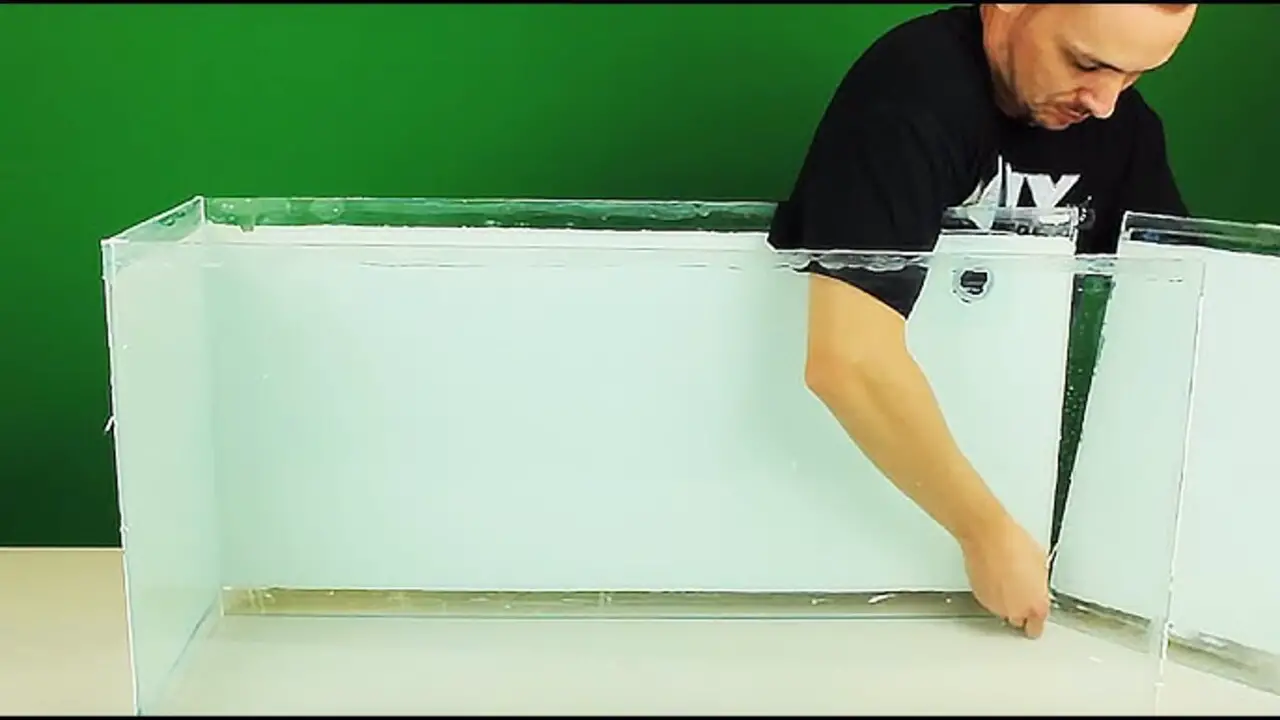
Apply A Sealant To The Glass Edges And Attach The New Frame
Regarding aquarium frame replacement, it is important to take the necessary steps to ensure a secure and watertight seal. One method is to apply a sealant to the glass edges before attaching the new frame. This will help prevent any water leakage and maintain the tank’s structural integrity.
Choosing a high-quality sealant specifically designed for aquarium use is crucial, as regular household adhesives may not be suitable. Additionally, follow the manufacturer’s instructions carefully when applying the sealant and attaching the new frame. These precautions will help ensure a successful aquarium frame replacement that will keep your aquatic friends safe and sound.
Allow The Sealant To Dry And Cure According To The Manufacturer’s Instructions
When replacing an aquarium frame, it is important to allow the sealant to dry and cure according to the manufacturer’s instructions. This securely attaches the new frame and provides a watertight seal. The drying and curing process typically takes several hours or even days, depending on the type of sealant used.
It is crucial not to rush this step, as premature contact with water can compromise the integrity of the seal and lead to leaks or damage to the aquarium. Patience is key when replacing an aquarium frame, so follow the instructions provided by the manufacturer to ensure a successful replacement.
Refill The Aquarium With Water And Reattach Any Decorations Or Equipment
In terms of aquarium frame replacement, there are a few steps you’ll want to follow to ensure a successful and safe process. First, start by emptying the aquarium of all water and removing any decorations or fish. Next, carefully detach the old frame from the tank, being mindful not to damage the glass. Once the old frame is removed, thoroughly clean the edges of the tank to remove any debris or adhesive residue.
Then, apply a suitable aquarium-safe adhesive to attach the new frame, ensuring it is evenly aligned and securely in place. Finally, refill the aquarium with water and reattach any decorations or equipment that was removed earlier. By following these steps, you can easily replace the frame of your aquarium and have it look as good as new in no time.
Conclusion
Replacing an aquarium frame may seem daunting, but it can be easily accomplished with the right steps and tools. Assess the damage, gather the necessary materials, and safely remove any decorations or equipment before draining the water from the tank. Carefully remove the old frame and clean the glass edges before measuring and cutting the replacement frame.
Apply a sealant and attach the new frame, allowing it to dry and cure properly. Refill the aquarium with water and reattach any decorations or equipment. We have provided bulk information for aquarium frame replacement and hope our information was helpful from your perspective.
Frequently Asked Questions
How Do You Fix A Broken Aquarium Brace?
To fix a broken aquarium brace, first, remove water and fish from the tank. Use silicone adhesive to attach a replacement brace of the same size and shape. Allow the adhesive to dry completely before refilling the tank with water.
Can Aquarium Glass Be Repaired?
Yes, aquarium glass can be repaired. Small cracks or chips can be fixed using a glass repair kit. However, for larger damages, replacing the entire glass panel is recommended. It is important to ensure that the replacement glass is of the same thickness and type as the original.
How Can I Know If My Aquarium Frame Needs To Be Replaced?
To determine if your aquarium frame needs to be replaced, look for visible signs of wear and tear, like cracks or discoloration. Check for looseness or wobbliness, as it may indicate structural damage. Water leakage is also a sign of frame damage. Consult with an expert if in doubt.
Which Type Of Aquarium Frame Should I Buy And Why?
When considering which aquarium frame to buy, it’s important to consider the size and shape of your aquarium. Glass frames offer durability and security. In contrast, plastic frames are more affordable and easier to replace. Additionally, consider the aesthetic appeal and how well the frame complements your aquarium design. Consulting with experts or conducting research can help determine the best option for your specific needs.
What Are Some Things That I Can Do To Prevent Problems With My New Aquarium Frame From Occurring?
To prevent problems with your new aquarium frame, measure and level the aquarium properly before installation. Use high-quality materials and tools during the replacement process. Regularly inspect the frame for any damage or wear, and follow manufacturer instructions for cleaning and maintenance.

Aquarium passion is all about connecting with the aquatic life and providing education to the public on the importance of these creatures. We showcase a wide variety of marine life through our exhibits as well as working with schools to provide unique learning opportunities for students of all ages.


![How To Clean Old Aquarium Gravel – [The Easy Way]](https://meekbond.com/wp-content/uploads/2023/02/How-To-Clean-Old-Aquarium-Gravel.jpg)


