
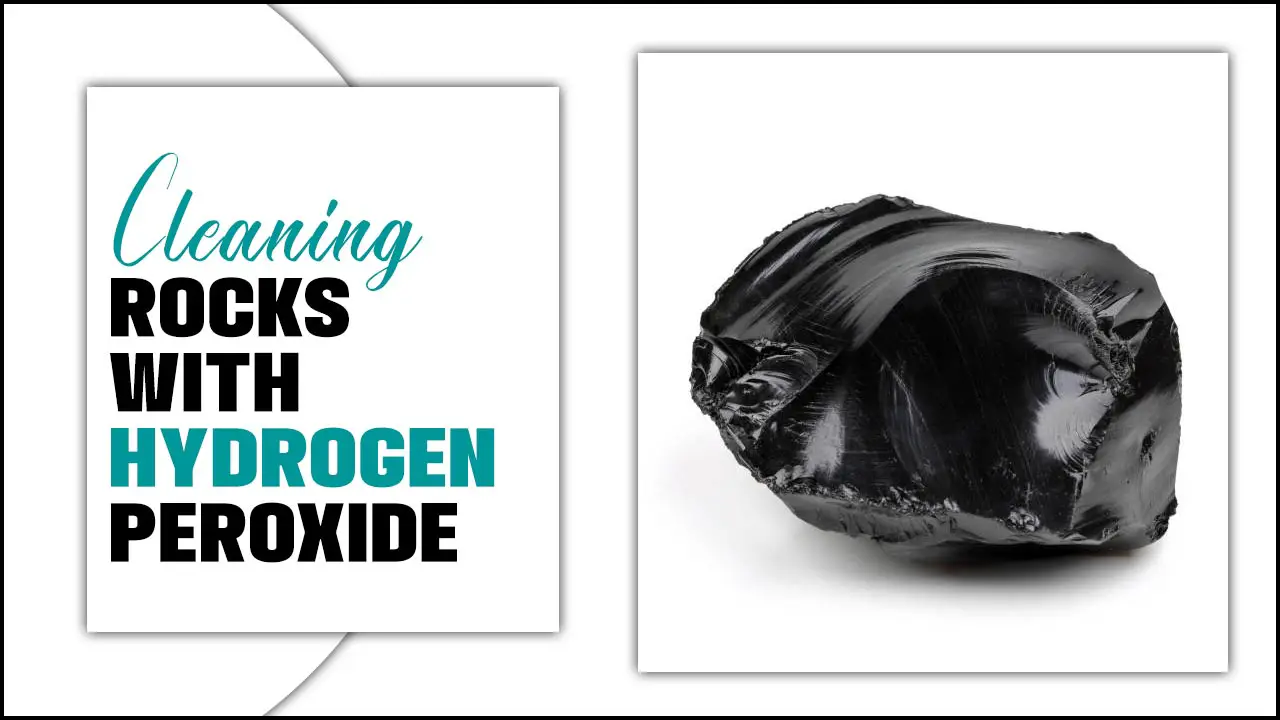
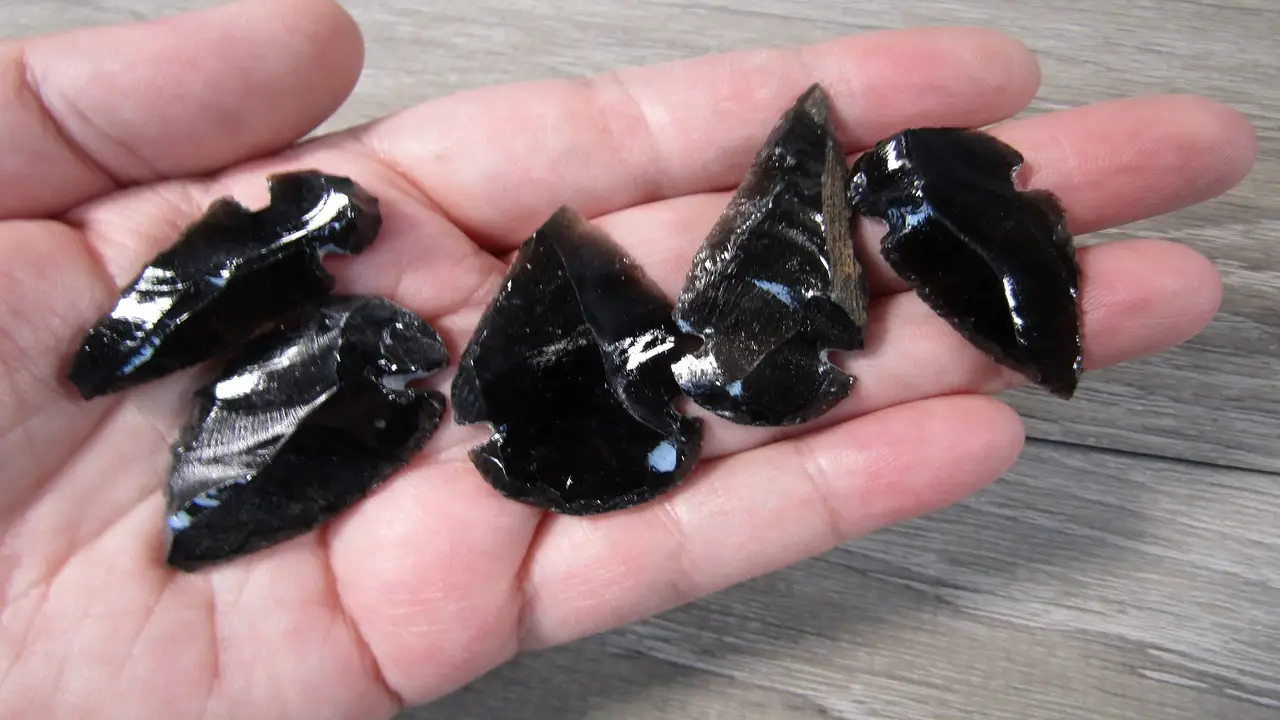
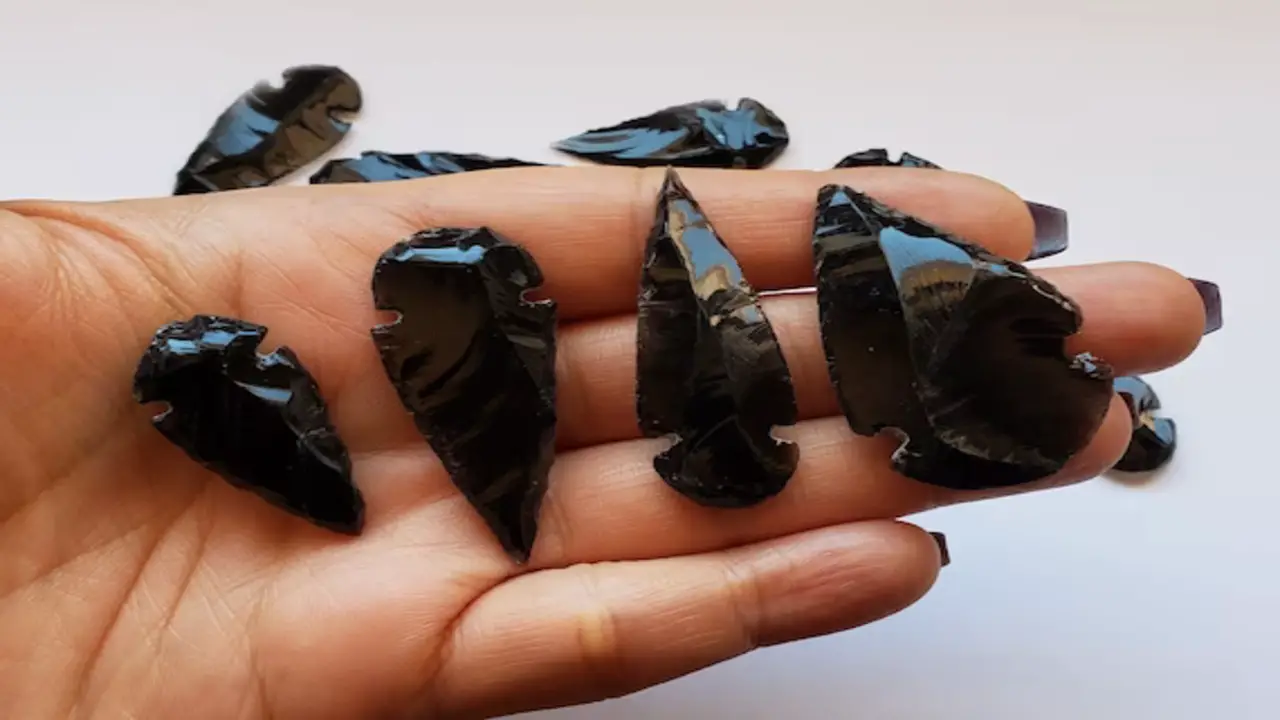
Hydrogen peroxide can remarkably clean rocks effectively without causing any damage. To achieve optimal results, it is essential to use the proper ratio of hydrogen peroxide to water when cleaning rocks.
Safely applying hydrogen peroxide to rocks involves using a toothbrush or sponge to scrub away dirt and stains. Hydrogen peroxide as a natural cleaning solution offers numerous benefits, including its effectiveness in removing algae, moss, lichen, and iron stains.
Here we will walk you through cleaning rocks with hydrogen peroxide step-by-step. We will also discuss the tools and materials you need for the job. With this ultimate guide on cleaning-rocks with hydrogen peroxide, you can effortlessly restore your rocks’ natural beauty.
What You Need
When cleaning rocks with hydrogen-peroxide, there are a few essential items that you will need. First and foremost, you will need hydrogen peroxide itself. You can typically find this at your local pharmacy or grocery store. Additionally, you will need a container to soak the rocks in, such as a plastic tub or bucket.
Having a soft-bristle brush or toothbrush is also helpful to gently scrub away any dirt or debris from the rocks. Lastly, make sure to have gloves and protective eyewear to ensure your safety while handling the hydrogen peroxide. With these supplies, you’ll be ready to clean your rocks and bring out their natural beauty effectively.
Cleaning Rocks With Hydrogen Peroxide: How To Do It
To cleaning rocks with hydrogen peroxide, you must gather the necessary equipment. Safety precautions, including wearing gloves and goggles, should always be taken when working with hydrogen peroxide. Begin by pre-cleaning the rocks with soap and water.
Then, prepare a container with a solution of hydrogen peroxide and water. Soak the rocks in the solution for a period of time, and then scrub them with a toothbrush to remove any dirt or residue. Rinse the rocks thoroughly and allow them to dry. This step-by-step guide will ensure your rocks are clean and free from buildup or stains.
Step 1: Pre-Clean With Soap And Water
Start by pre-cleaning the rocks with soap and water to ensure effective cleaning. Gently scrub the rocks using a soft-bristled brush to remove dirt and debris. Thoroughly rinse the rocks to eliminate any residue. Letting the rocks dry completely before proceeding with hydrogen peroxide is essential. This step ensures that the peroxide can fully penetrate and clean the surface of the rocks.
Step 2: Prepare Container And Solution
To prepare the container and solution for cleaning rocks with hydrogen peroxide, choose a non-reactive container to hold the rocks and hydrogen peroxide solution. Make sure the solution does not damage the container. Next, add enough hydrogen peroxide to completely cover the rocks, using a concentration of 3% to 8% depending on how dirty the rocks are. To help break down dirt and grime, mix in a small amount of dish soap with the solution.
Step 3: Soak Your Rocks
To begin the cleaning process, create a mixture of hydrogen peroxide and water in a bucket or container. Submerge your rocks in the solution and let them soak for a few hours or overnight. This will allow the hydrogen peroxide to lift dirt, grime, and other buildup off the rocks. A gentle scrub using a soft-bristled brush may be necessary for stubborn stains. Once soaked, rinse the rocks thoroughly and ensure they are completely dry before displaying or using them.
Step 4: Wire Brush And Dry
To ensure your rocks are thoroughly cleaned after soaking, gently scrub them with a wire brush to remove any remaining debris. Remember to wear gloves for protection. Once the rocks are clean, use a dry cloth to dry them thoroughly. Let the rocks air dry for a few hours to ensure complete drying. Now your rocks are ready for decorating or any other projects you have in mind.
How To Clean Rocks Without A Tumbler
To clean rocks without a tumbler, gather materials such as hydrogen peroxide, water, a bucket, and a scrub brush. Mix the hydrogen peroxide and water in a 1:3 ratio in the bucket. Soak the rocks in the solution for 24 to 48 hours, then use the scrub brush to remove any remaining dirt or debris. Rinse the rocks with clean water and let them air dry. Repeat the process as necessary for heavily soiled rocks.
Mechanical Cleaning
Mechanical cleaning involves physically scrubbing rocks using a toothbrush or soft-bristled brush to remove surface dirt and debris. It’s essential to be cautious with delicate rocks and avoid harsh abrasives that could cause damage. After scrubbing, rinse the rocks thoroughly with water to eliminate any remaining debris. Mechanical cleaning is an effective method for cleaning hard-to-reach areas of the rock and ensuring a thorough cleanse.
Brushing
Brushing rocks with a soft-bristled brush can effectively remove dirt and debris without causing damage to the surface. A toothbrush or paintbrush can be used to scrub away stubborn stains or buildup gently. Using a natural or synthetic brush that won’t scratch or harm the rock’s surface is essential. Consider using a mixture of hydrogen peroxide and water for added cleaning power. Regular brushing will help keep your rocks looking clean and vibrant for years.
High-Pressure Water
Using high-pressure water is an effective method for cleaning rocks without a tumbler. A pressure washer can be utilized to eliminate dirt and debris from rocks. However, caution should be exercised as high-pressure water can damage certain rock types. It is advisable to use a nozzle with adjustable pressure to prevent harm. Always wear appropriate safety gear, such as goggles and gloves, while using a pressure washer for rock cleaning.
Dissolving Rocks To Expose Crystals
One fascinating way to uncover crystal formations is by dissolving certain rocks with hydrogen peroxide. Before proceeding, identifying the rock type and its solubility in hydrogen peroxide is crucial. The concentration of the hydrogen peroxide used depends on the specific rock being dissolved.
Safety precautions, such as gloves and protective eyewear, are essential when handling hydrogen peroxide. Once the rock is dissolved, carefully extracting and cleaning the crystals allows for display or further study.
With Dish Soap
Dish soap is a great option. Simply mix some dish soap with warm water and let your rocks soak for a few hours. After soaking, gently scrub the rocks using a soft-bristled brush. Rinse them thoroughly with clean water and make sure to dry them completely. Repeat the process if needed until your rocks are clean.
With Baking Soda
Using baking soda as a gentle yet effective rock-cleaning agent is a great way to keep them looking their best. Mixing baking soda with hydrogen peroxide can create a natural cleaning solution that will help remove dirt and grime from the rocks. Simply soak the rocks in the mixture, scrub gently, and then rinse thoroughly before allowing them to dry completely. Avoid using abrasive tools or harsh chemicals that could damage the rocks.
With Vinegar
Vinegar, an inexpensive alternative, effectively dissolves mineral deposits, dirt, and grime from rocks. Soak the rocks in equal vinegar and water for several hours or overnight. Gently scrub them with a soft-bristled brush, then rinse thoroughly. Note that vinegar may cause damage to certain rocks like limestone or marble. Exercise caution when using this method.
With Waller Solution (Iron Out)
Waller Solution, commonly known as Iron Out, is a highly effective cleaner for rocks that have stubborn stains. It contains sodium bisulfate and sodium hydrosulfite, which are active ingredients that break down mineral deposits.
To use it, dilute the solution according to the instructions on the label to prevent any damage to sensitive stones. Soak the rocks in the solution for a few hours or overnight, depending on the severity of the stains. Afterward, rinse the rocks thoroughly with warm water and carefully dry them to avoid water spots.
With Muriatic Acid
Muriatic acid, a powerful chemical for dissolving mineral buildup on rocks, requires caution when handling. Protective gear like gloves and goggles is crucial. Dilute the acid with water before cleaning the rocks. Follow instructions diligently and rinse thoroughly to avoid residual acid. Improper handling can result in chemical burns. Always prioritize safety when using muriatic acid to clean rocks.
With Oxalic Acid
Using oxalic acid for rock cleaning offers a great alternative to a tumbler. When handling oxalic acid, it’s essential to wear protective equipment to ensure safety. Dilute the acid in water and gently scrub the rocks with the solution. After cleaning, remember to rinse the rocks to remove any remaining acid thoroughly. Properly disposing of the oxalic acid solution is crucial to prevent environmental harm.
With Hydrogen Peroxide
Hydrogen peroxide, a gentle and effective cleaner, can clean rocks without a tumbler. You can easily remove dirt, algae, and other debris from rocks by diluting hydrogen peroxide. It’s essential to use the right concentration of hydrogen peroxide for optimal results.
Soak the rocks in the solution for a few hours, then gently scrub them with a soft brush before rinsing them with water. This method is perfect for preserving the natural beauty of rocks collected from the beach or hiking trails.
Air Abrasion
Air abrasion is a gentle technique that utilizes compressed air and abrasive material to effectively clean rocks. It is particularly suitable for delicate or porous rocks, as it avoids causing any damage. This method can successfully eliminate tough stains and mineral deposits from rocks, restoring their natural beauty.
However, wearing gloves and goggles is essential to prioritize safety when employing air abrasion. Given its specialized nature, it’s advisable for professionals or experienced rock collectors to utilize this technique.
Sand Blasting
Sandblasting is a powerful method of removing stubborn stains and debris from rocks. Specialized equipment, such as an air compressor and sandblasting nozzle, are required for this technique. However, caution must be taken as sandblasting can damage delicate or soft rocks. It is most effective on hard rocks like granite or quartz. Always wear protective gear, including a respirator, gloves, and safety glasses when sandblasting rocks.
Air Scribes
Air scribes are specialized tools utilized for delicate rock and fossil cleaning. These tools employ compressed air to generate small vibrations, removing dirt and debris from the rock’s surface. Professionals in geology and paleontology commonly rely on air scribes for their precision and ability to clean without causing damage.
Protective gear should be worn to ensure safety and optimal results, and work should be conducted in a well-ventilated environment. Using air scribes offers efficient and effective cleaning of delicate rocks and fossils.
Ultrasonic Cleaning
Ultrasonic cleaning is an efficient method that utilizes sound waves to clean rocks without the need for abrasive materials. Hydrogen peroxide can be added to the ultrasonic cleaner for enhanced cleaning power.
This technique reduces cleaning time and ensures a thorough clean, even in hard-to-reach crevices. When using an ultrasonic cleaner, it’s crucial to follow safety precautions, such as wearing goggles and protective gear. Additionally, this method is suitable for cleaning rocks of various sizes and types.
How To Remove Oxidation From Rocks

You’ll need a few supplies and equipment to remove oxidation from rocks. Start by understanding what oxidation is and how it affects rocks. Then, gather hydrogen peroxide, a toothbrush, and a container.
Carefully scrub the rocks with hydrogen peroxide using the toothbrush to remove any stains or residue. Rinse the rocks thoroughly and dry them properly. Finally, follow safety precautions and maintain the appearance of your cleaned rocks by storing them properly.
Conclusion
Cleaning rocks with hydrogen peroxide is an effective and safe method. Whether you’re a rock collector or simply want to enhance the appearance of your outdoor space, hydrogen peroxide can help remove dirt, stains, and oxidation from rocks. You can achieve clean and beautiful rocks by following the step-by-step guide and using the right tools and materials.
Additionally, if you don’t have a tumbler, there are alternative methods you can try to clean rocks without a tumbler. Remember to exercise caution and wear protective gear when working with chemicals. With the power of hydrogen peroxide, you can transform your rocks and enjoy their natural beauty.
Frequently Asked Questions
What Is The Best Thing To Clean Rocks With?
To effectively clean rocks, hydrogen peroxide is a great option. Create a solution using hydrogen peroxide and water, then gently scrub the rocks with a soft-bristled brush. Rinse well afterward to remove any residue. Avoid harsh chemicals or abrasives that could damage the rocks.
Can You Use Hydrogen Peroxide On The Stone?
Using hydrogen peroxide on stone surfaces is possible, but testing a small area first for any adverse reactions is crucial. Dilute the hydrogen peroxide according to instructions before removing stains and discoloration from the stone.
What Chemical Do You Use To Clean Rocks?
Hydrogen peroxide is a commonly used chemical for cleaning rocks. Other options include vinegar, bleach, and muriatic acid. Safety precautions and testing on a small area are important when using any chemical solution on rocks.
Why Use Hydrogen Peroxide To Clean Aquarium Rocks?
Hydrogen peroxide is a natural and effective solution for cleaning aquarium rocks. It can kill harmful bacteria and algae without leaving residues or toxins behind. This cost-effective method is easy to use and ensures clean and safe aquarium rocks.
What Happens When You Soak Rocks In Vinegar?
Soaking rocks in vinegar can reveal hidden colors by dissolving mineral deposits. However, vinegar is acidic and may damage certain rocks and minerals. To be safe, test a small area before fully soaking, and always rinse thoroughly with water after soaking.

Aquarium passion is all about connecting with the aquatic life and providing education to the public on the importance of these creatures. We showcase a wide variety of marine life through our exhibits as well as working with schools to provide unique learning opportunities for students of all ages.


